
TABLE OF CONTENTS
In Eduframe, it is possible to collect different contact information from participants and order contacts for different products. Like food allergies for a cooking course or the social security number for an accredited training.
You can setup different contact signup forms. You can select the contact signup form you want to use for each product. This allows you to have a different contact signup for different (types of) products and contacts.
Create a contact signup form
- Make sure you have added at least one custom contact field (a custom field that is linked to a contact). Excluding the participant address, only custom fields on contact level can be added to a contact signup form. To set up these custom fields, go to Settings > Custom fields > tab 'Contacts'.
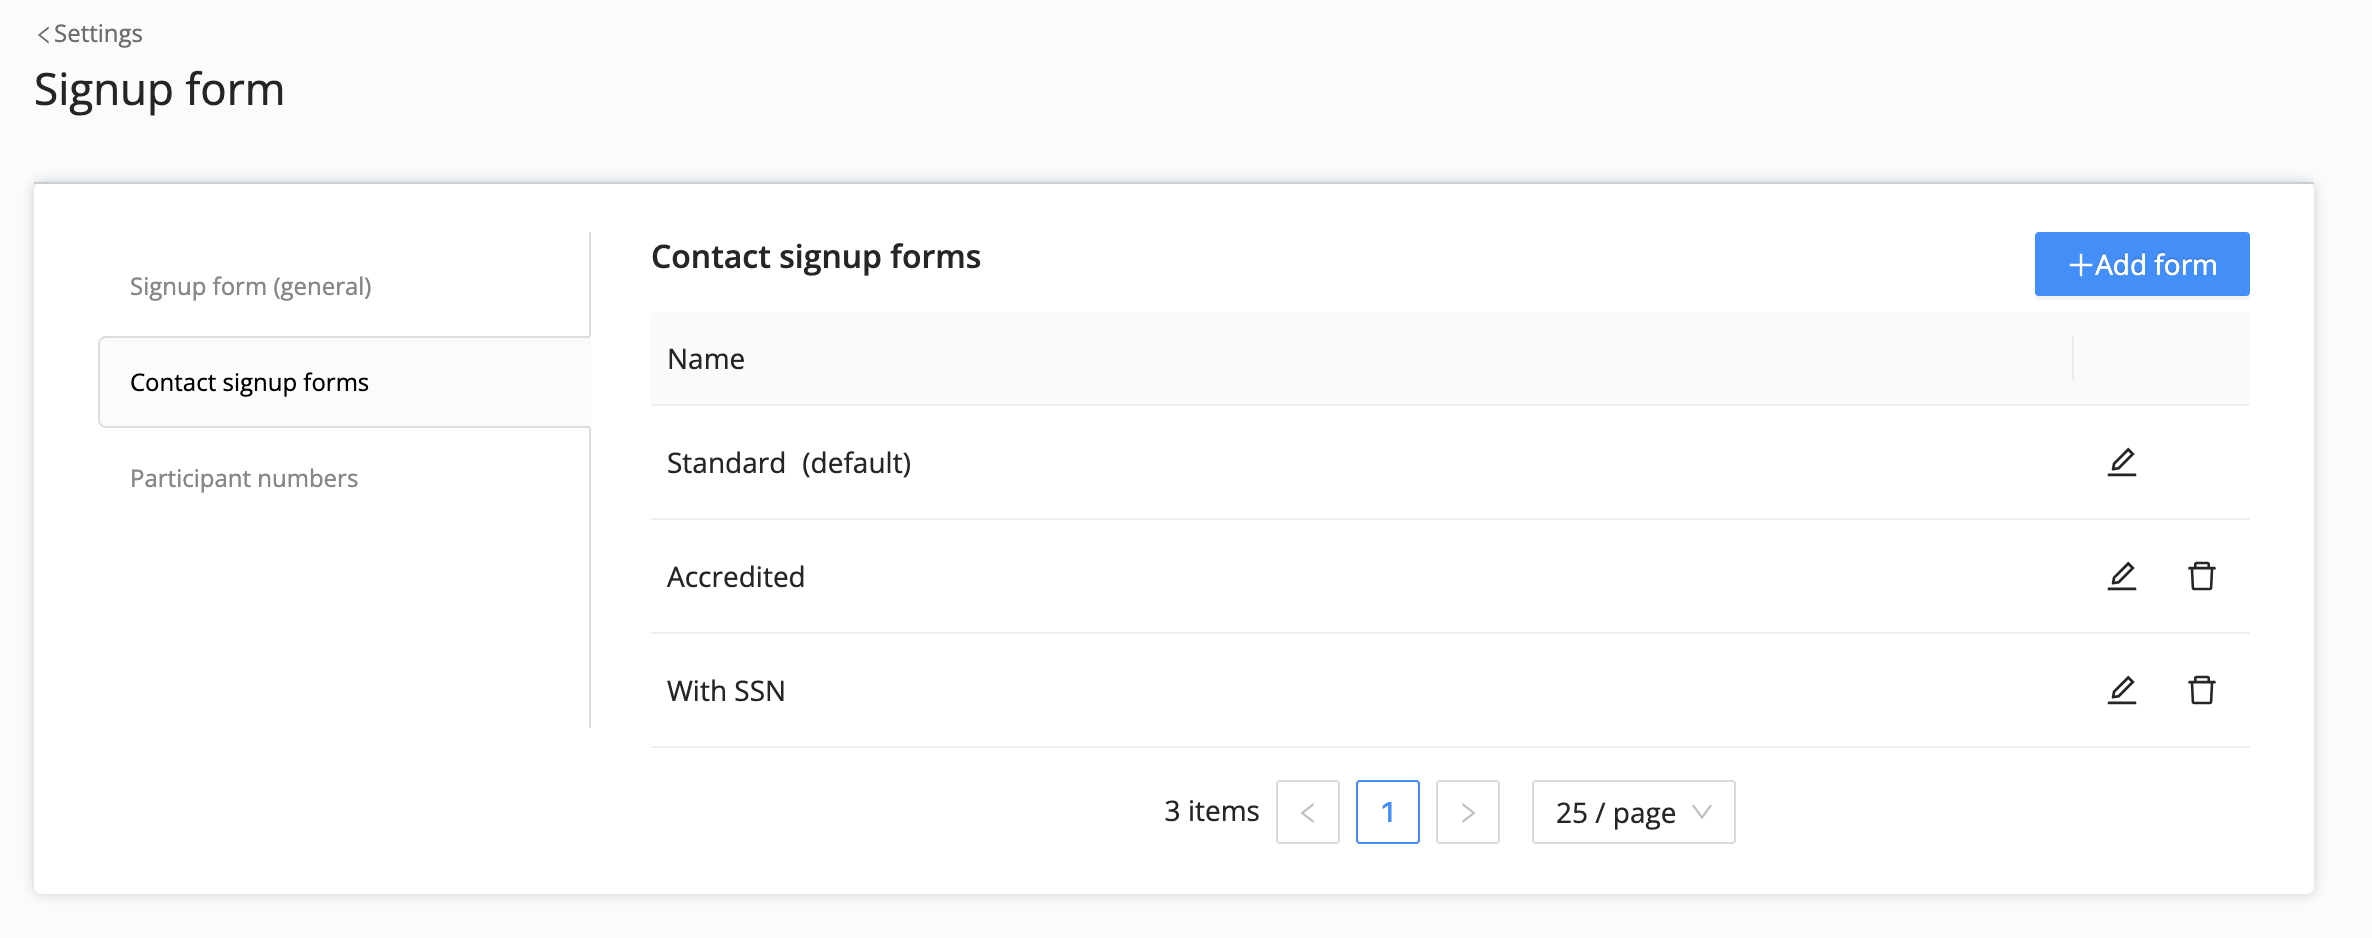
- After you created one or more custom contact fields, you navigate to Settings > Forms > tab 'Contact signup forms'. Here you can edit the default contact signup form or create a new contact signup form. The default form is by default used in product templates, but can be replaced with another signup form.
- After adding a new contact signup form or by editing an existing signup form, you can select one or multiple custom contact fields to the form with the blue '+ Field' button. This can be done for both the participant or order contact with two tabs on top of the page:
- Order contact fields: if you add custom fields here, the field will be visible in step 2 'your details' on the signup form. An order contact should fill in this custom field.
- Participant fields: if you add custom field here, the field will be visible in step 3 "participant detail" on the signup form. This means that all participants should fill in this custom field. This is relevant if you want to enroll multiple participants through an organization.

- Using the toggle 'Show participant address field on signup form' adds the participant address to a selected contact signup form. This differs from adding other fields since it is a system contact field and not a custom contact field.
- After you selected the relevant custom fields, you can see they are added to the signup form you are creating or editing. On the right hand side of the custom field name, you can mark a field as required. Here you can also remove the custom field from the signup form.
- The information requested on the signup by using the custom contact fields and contact signup forms is saved on contact level, not on order or enrollment level.
Select a contact signup form for a product template
- Open the product template where you want to add or edit the contact signup form.
- Select the contact signup form you want to use in the 'Contact signup form' dropdown field and save.
- The select contact signup form will now be used for this course or program.
Note: The default system contact fields - name and email - are always visible on the signup form and in the different Eduframe portals. This is not the case for address. However, with the setting 'Show participant address field on signup form', you can hide or show this (optional) contact system field as well.

Note: To decide which custom contact fields are visible in the student portal or business portal, you go to Student & Business portal settings. Adding those custom fields to a signup form does not automatically make them visible in these two portals.
More information

Click here for other articles around the Settings page in Eduframe

Click here if you have any questions for support.
Was this article helpful?
That’s Great!
Thank you for your feedback
Sorry! We couldn't be helpful
Thank you for your feedback
Feedback sent
We appreciate your effort and will try to fix the article